Employee Advance
By Shyam Sunder Sahani on November 25, 2025
BeginnerERP Documentation ::
Employee Advance ::
Sometimes employees go outside for company work and the company pays some amount for their expenses in advance. This is when the employee can create an Employee Advance form where details such as the Purpose of Expense and Expense Amount can be recorded.
Click here to download Employee Advance.
1 Section: Details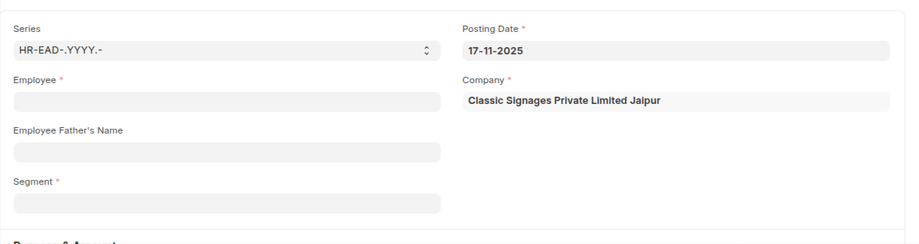
Employee: Link, Select your employee-id
Employee Name: auto fetch from employee-id
Employee Father's Name: auto fetch from employee-id
Segment: Link, auto fetch from employee-id
Posting Date: Date, default current date
Company: Link, auto fetch from employee-id
Department: Link, auto fetch from employee-id
2 Section: Purpose & Amount
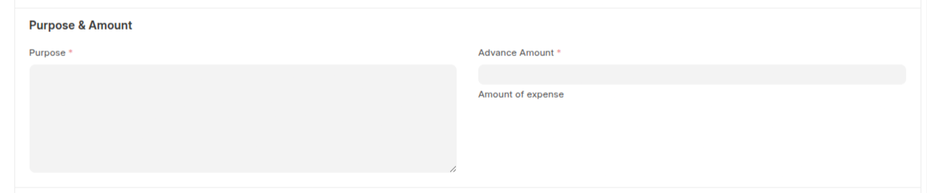
Purpose:
Advance Amount: Currency,
3 Section: Accounting
this tab mainly handle by Account Team

4 Section: More info

Status: Read-only, it has below mentioned options, default it is “Draft”, All status is auto update through ERP
Draft
Paid
Unpaid
Claimed
Returned
Partly Claimed and Returned
Cancelled
Draft: A draft is saved but yet to be submitted.
Paid: Advance has been Paid to the employee and a Payment Entry has been submitted.
Unpaid: Advance is not paid out to the employee yet. A Payment Entry is not created against the advance.
Claimed: After the advance is paid, the employee has claimed the entire Paid Amount via Expense Claim.
Returned: After the advance is paid, the employee has returned the entire Paid Amount and a return entry is submitted via Payment Entry/Journal Entry.
Partly Claimed and Returned: After the advance is paid, the employee has partially claimed the Paid Amount via Expense Claim and returned the remaining amount via a submitted Payment Entry/Journal Entry.
Cancelled: The Advance is cancelled due to any reason.
No comments yet. Login to start a new discussion Start a new discussion